 digitalsynth.net
Yamaha A4000 Hard Disk Installation
If you keep your samples small, you can go a long way with a 3.5" HD floppy disk, but as your sample library grows, you may begin to want something faster and more spacious. After all, a HD floppy disk can only hold 1.4 megabytes of sample data, while hard disks reached multi-gigabyte status already in the mid-1990s, and soon did also sample libraries.
The Yamaha A4000 Professional Sampler sales package originally included a sample library comprising eight CD-ROMs filled with orchestral, brass, percussion and keyboard samples. To utilize the library you had to have an external SCSI CD-ROM drive connected to the sampler, and even then you had to load the samples into memory every time. With the default 16 megabytes of sample RAM you didn't load very much of them at any one time, so many sampler owners installed an internal hard disk and transferred the samples over.
My A4000 didn't come with the sample CD-ROMs, and I don't have an external SCSI CD-ROM, because they are big, bulky, and kind of rare nowadays. However, a standard IDE 3.5" hard disk is easy to come by, so I got one and installed it in my A4000. This is an account of how it went.
Scoring a hard drive
As with most of these vintage digital musical instruments and their accessories, I turned to eBay, and quickly found a suitable unit. From the label it seems like it was manufactured by Samsung in 2005 specifically for use with the Yamaha A5000/A4000, but I don't know the story.
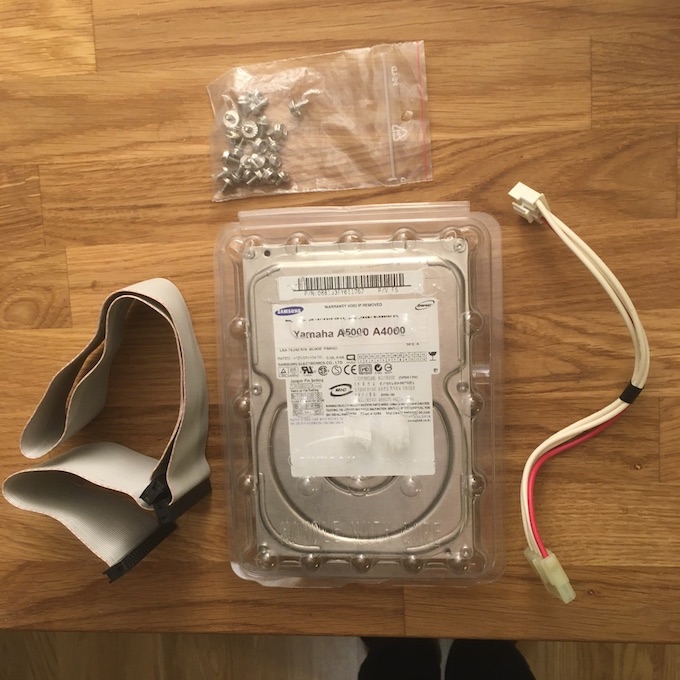
This hard disk has a capacity of 40 GB, which would have been a huge amount back in the early 2000s, but the Yamaha A5000 and A4000 can only use a total of 8 GB of the capacity, and even so it has to be split into partitions with a maximum size of 1 GB. Still, one of those holds over 700 floppies, or one of those original Yamaha sample library CD-ROMs, so it's just as well.
I must have been a little too enthusiastic when I cleaned out my drawers some years ago, vowing that I'd never use PCs again, because I couldn't find any spare IDE cables. So I went to my local PC dealer and picked up one, along with a small bag of hard disk installation screws (also not found in my drawer). Actually the first IDE cable did not fit, because one of the connectors did not have enough holes for the pins.
Installing the hard disk
By this time I was already a champion in opening the A4000 case, so I removed the hard disk installation plate and fastened the drive to it with four screws. The Yamaha A5000/A4000 Owner's Manual has very clear instructions on how to do the installation. A slimline hard disk, like this one from Samsung, fits well inside the case, but if you have some old hulking monster of a disk, you may have a problem fitting it.
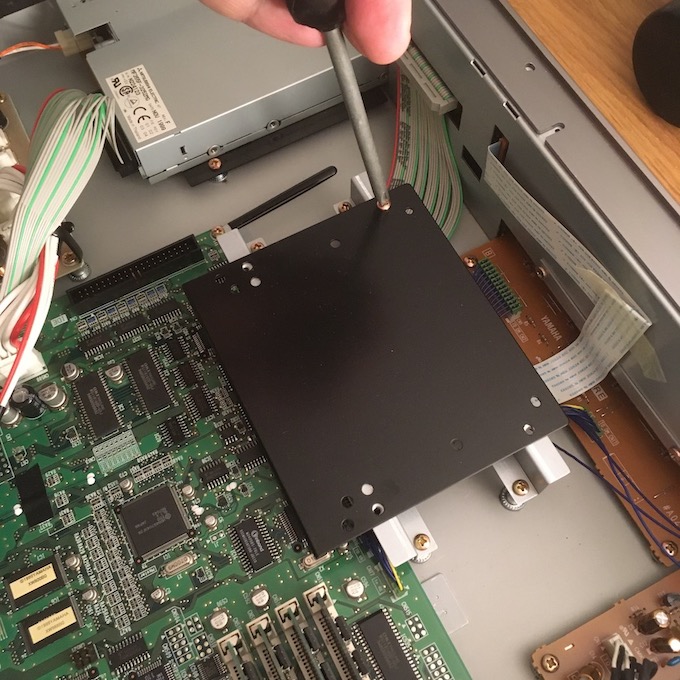
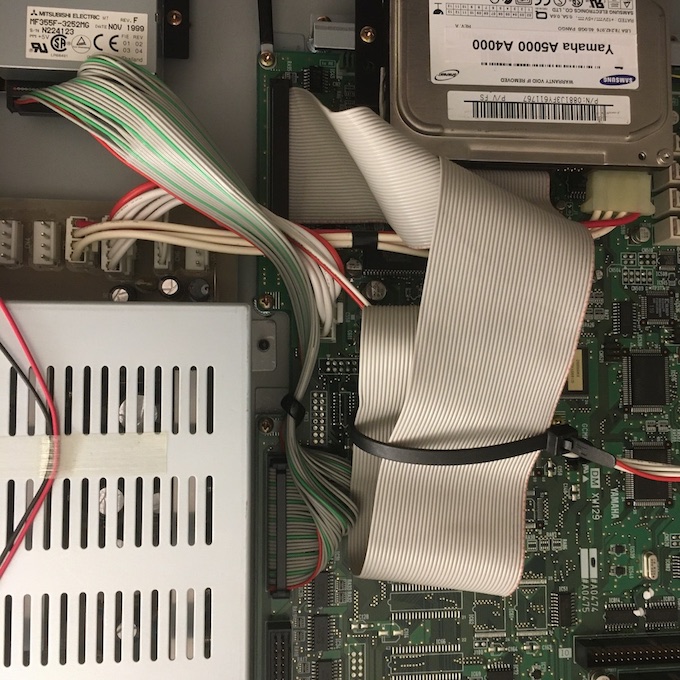
Once the hard drive is fastened to the plate, you just screw back the plate and connect the IDE cable from the hard disk to the motherboard connector. Note that you may need to set a jumper on the drive to indicate that the drive is the master. This is something that is probably familiar to you if you have ever installed two IDE hard disks in a PC; the other is the master, and the other is the slave.
Short of power
Of course, if I had received the complete A4009 sales package, I would already have had both the IDE cable and the original HDD power cable, which is not quite the standard PC variety. It has a Molex connector at the hard drive end, but the connector that goes to the A4000 motherboard was some variety of JST. Rather than sourcing some JST connectors and splicing a SATA power cable to solder together a power cable, I turned to eBay again, and found a replacement power cable with the right connectors.
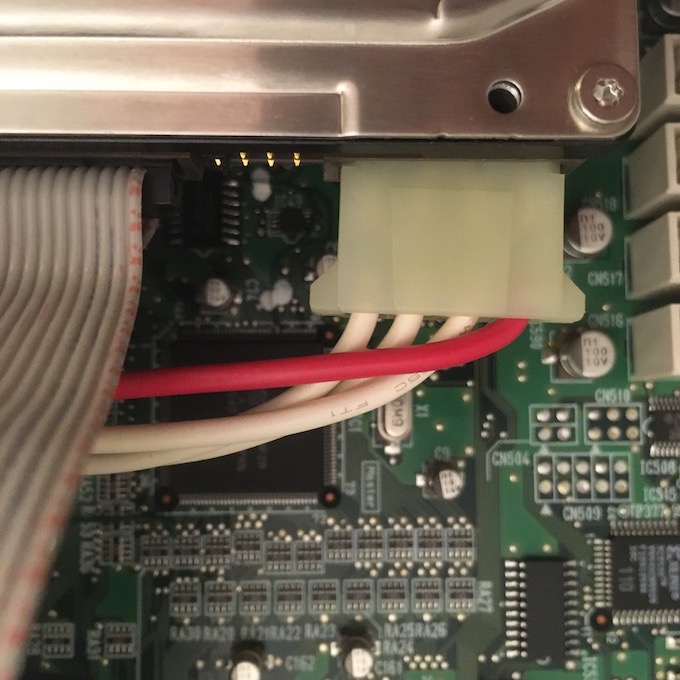
Trouble is, the replacement power cable was a little too short for comfort; it does reach, but is stretched pretty tight, as you can see in the picture. I hope the strain is not too much for the Molex connector. If the hard disk does not power up some day, at least I know where to look for the cause of that problem.
Bring on the noise
When the installation is finished and the cover on the case replaced, you will find that your A4000 boots up slower than it used to, because it will check the hard disk and read the partition information. With this particular unit you will be looking at the ticking metronome graphic on the sampler's display for about 40 seconds, which may seem like a long time, but then again my 2009 iMac takes about a minute to start up Ableton Live 10 Suite or Logic Pro X in macOS High Sierra.
Another thing that the hard drive adds is noise. Even without the hard disk, the A4000 is a noisy unit, mostly due to the fan at the back of the unit. The addition of a hard disk raises the noise to about the same as an early-2000's PC with no noise reduction. Having battled with PC noise for the most of the early noughties I really wasn't happy about this. The operational noise level, measured from the front of the unit (where the hard disk is located), was a whopping 55 dbA. But at least there is no CPU fan to make matters even worse!
But wait, there's more!
The IDE hard disk I installed was actually pulled from an A5000 or A4000 unit, so it wasn't completely empty. In another post I'll write about what was on the disk, and how to use all of the 8 GB available for the Yamaha A5000/A4000 operating system.