 digitalsynth.net
Kawai K1 ii Restoration
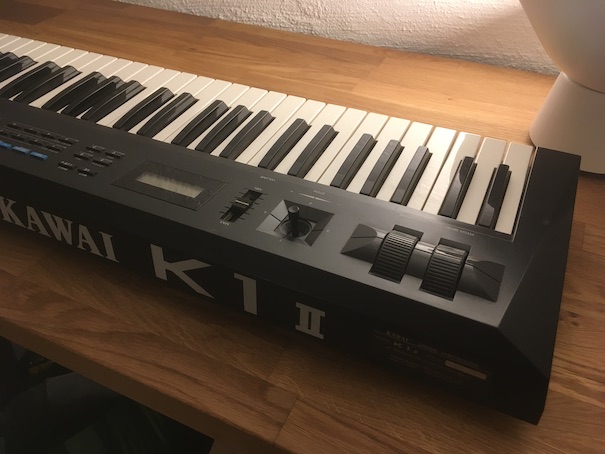
One of the oldest digital synths in my collection is the Kawai K1 ii, a classic from 1989. Its original version sold over 50,000 units and is heard on classic electronic music albums such as Frequencies by LFO (that would have been the original K1, though). This is the later model with integrated effects.
I've had my K1 ii for a year now, but I haven't really given it a good workout, because I was sort of gathering stamina to do a proper restoration. The first time I attempted that I got as far as replacing the ROM chip with the latest (last) version 1.3. That didn't really work out, though, and I put the synth back together and into storage.
However, the K1 ii was something of a ticking time bomb, because it has a CR2032 battery soldered on to the motherboard, which makes this particular one over 30 years old. Not good. So I acquired a battery holder and a new lithium battery, and proceeded to remove the old battery and install the holder, and maybe try the ROM replacement again.
As for the battery, it seems to have turned out OK. The ROM replacement, not so much.
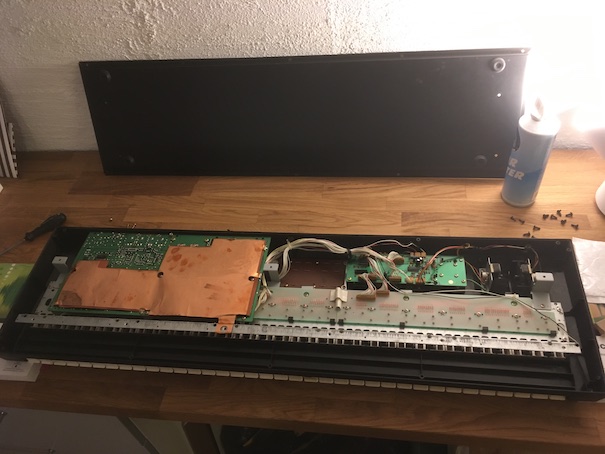
Open it up again
The K1 ii is a fairly simple synth. It doesn't have that much stuff inside, but when I began the battery replacement, I soon realized that I would actually need to remove the protective shield on the back of the motherboard. That one is soldered to the motherboard with eight joints and a lot of solder.
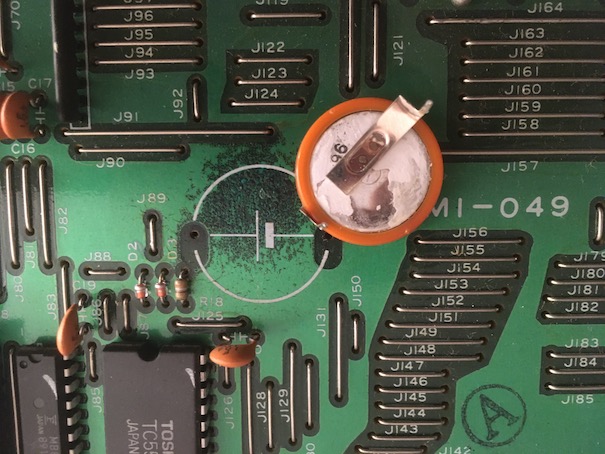
Eventually I got away with removing the solder joints from just half of the shield, and wriggling my way underneath it to remove the solder from the old battery legs and then remove the whole battery.
It turned out that there were some weird looking traces of substance on the motherboard around the battery, but to my knowledge lithium batteries don't leak, so I don't really know where they came from.
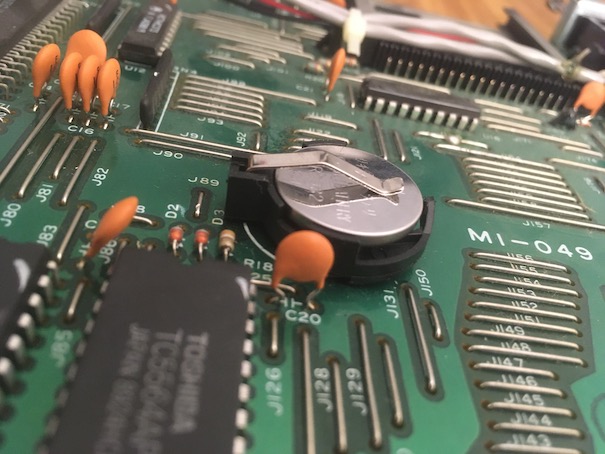
Nevertheless, I soldered the battery holder into place and tested for operation. The Kawai K1 ii and the Kawai K4 share the same power supply model: the Kawai PS-121. I have one for my K4, but I didn't get one with the Kawai K1 ii (I got it very cheap), I use an aftermarket, compatible power supply, and it works just fine.
Let's do the ROM change again
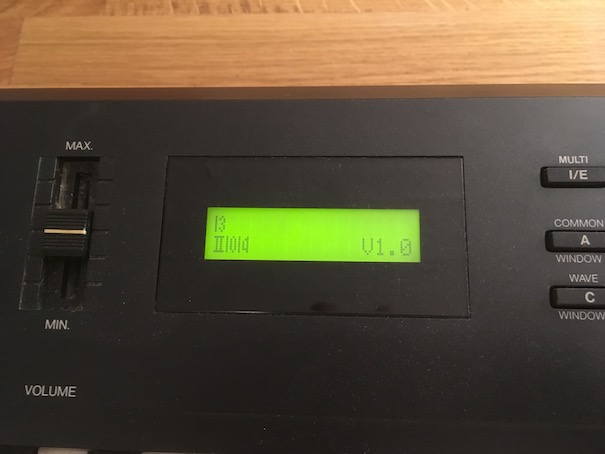
I then proceeded to replace the original V1.0 ROM with the v1.3 equivalent. Sure enough, when I started up the Kawai K1 ii, the display just showed up all weird.
There is no documented factory reset procedure for the Kawai K1 ii. I contacted the seller of the ROM, and got advice to let the internal memory drain out by removing the battery for some time and trying again. Good thing I just installed a battery holder! So I took the battery out and took care of some other business for about an hour or so.
When I got back I inserted the battery again and started the K1 ii up. Same result.
I replaced the ROM chip with the original V1.0 ROM, and everything was fine again, except that naturally all the sounds had disappeared because there was no battery backup for a while. No problem; I'll just send the original factory patches over using MIDI System Exclusive messages.
Since the battery replacement seems to have gone well, I can solder back the protective shield for good. However, I really would like to get the ROM upgrade issue fixed before I put the case back together, hopefully for good.
I still don't know for sure if the upgrade ROM is faulty after all. If anyone else has had a similar experience, and maybe knows how to proceed, please contact me at the address found on the About page.