 digitalsynth.net
Kawai K5 Backlight and ROM Replacement
Considering how much money people want for the good old Kawai K5 these days, I was pretty lucky to score one on eBay for about a third of that (you do the math) in February 2019. Of course the backlight on the LCD screen had faded, and many of the buttons were a little sticky, and there was no manual. But the sound was just right.

I was going to replace the backlight sooner than later, and I had one ordered, but somehow the project got delayed. I even had a spare battery just in case the old one had gone flat. (So far it hasn't.) But I only got around to doing the backlight replacement in September 2022.
While I was going to have to open the synth anyway, I decided to also replace the system ROM with the last version, 1.3. I got a replacement ROM chip from the numerous sellers on eBay, which got me thinking that I might want to invest into an EPROM programmer one of these days.
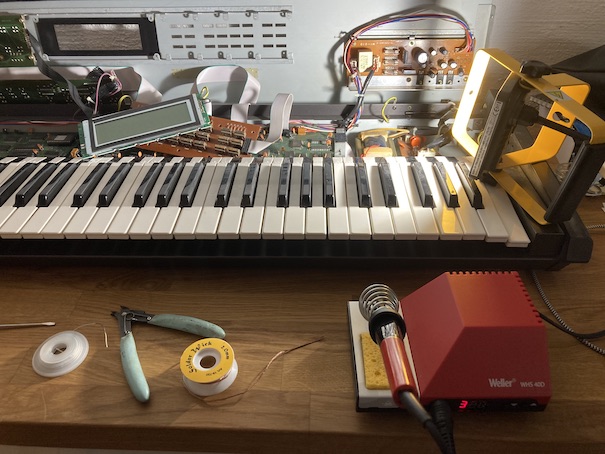
Since there are good instructions from Klaus Tzieply over at kfuenf.org (with pictures!), I was confident that I could do the replacement with no problems. Having replaced a few backlights and ROM chips in both keyboard and rack synths, I kind of knew what I was getting into, and indeed, the K5 was quite easy for me to open up and find my way around inside. Of course, first I collected all the tools I would need.
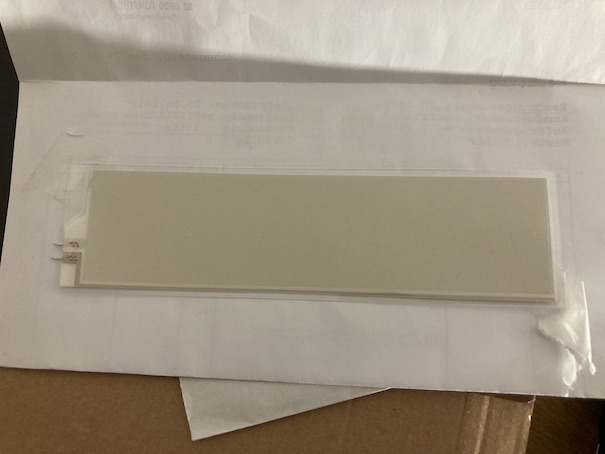
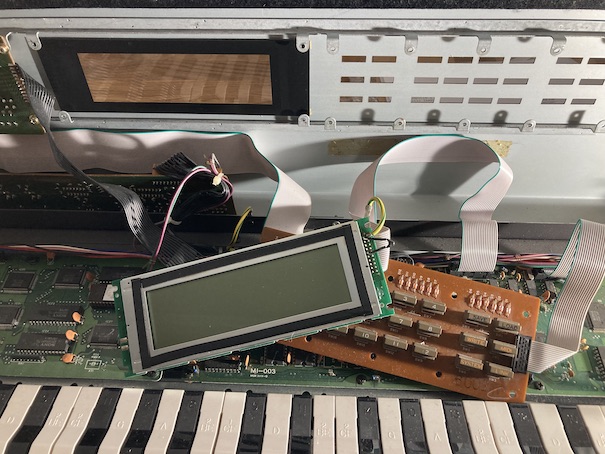
Of course I had to do some disassembly to get at the LCD card, cut off the connectors to the old backlight, and then insert the new EL foil. The instructions were very detailed and helpful, and I would recommend to anyone who is going to do the same operation to read them once through carefully before starting the work, and then following them as you proceed.
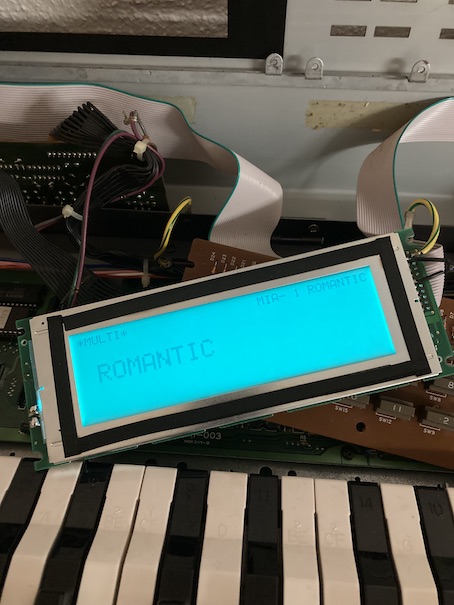
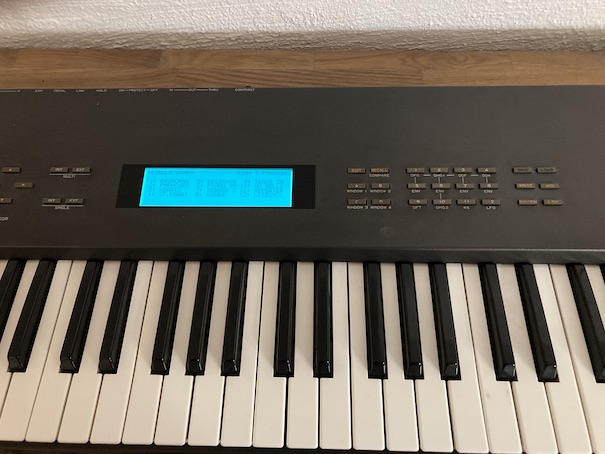
When the new EL panel is in place, and the leads have been soldered, it's a good idea to test that it works. DANGER! HIGH VOLTAGE! You can power up the synth while it is disassembled, just to test the display, but be careful, and DO NOT HANDLE THE POWER SUPPLY. Do this at your own risk. You have been warned.
After you have tested that the new backlight works, it's time to start putting the synth back together again, in reverse order as compared to the disassembly. In the photo below the synth has been completely assembled.
So all in all, the backlight replacement was quite smooth, what with the right tools and instructions on hand. You will need a soldering iron, and to know how to use it. Luckily I spent many of my teenage years assembling all kinds of electronic kits, so I still had some soldering skills left (augmented with some good tips on desoldering—did I mention that the instructions are very good?).
Also the ROM chip replacement was very easy. As long as you have the right tools (chip puller, or just a flathead screwdriver), and are very careful with not bending the pins on the ROM chip, you'll be fine.
More about the Kawai K5 on this site: